Search

 10 Year Warranty
 Made to Measure
When you’re completing a home renovation or interior decorating project, it can be difficult to know where to start. We’ve compiled this list of our top 10 interior decorating tips and hacks to help you transform your house into a home.
Create a Mood Board
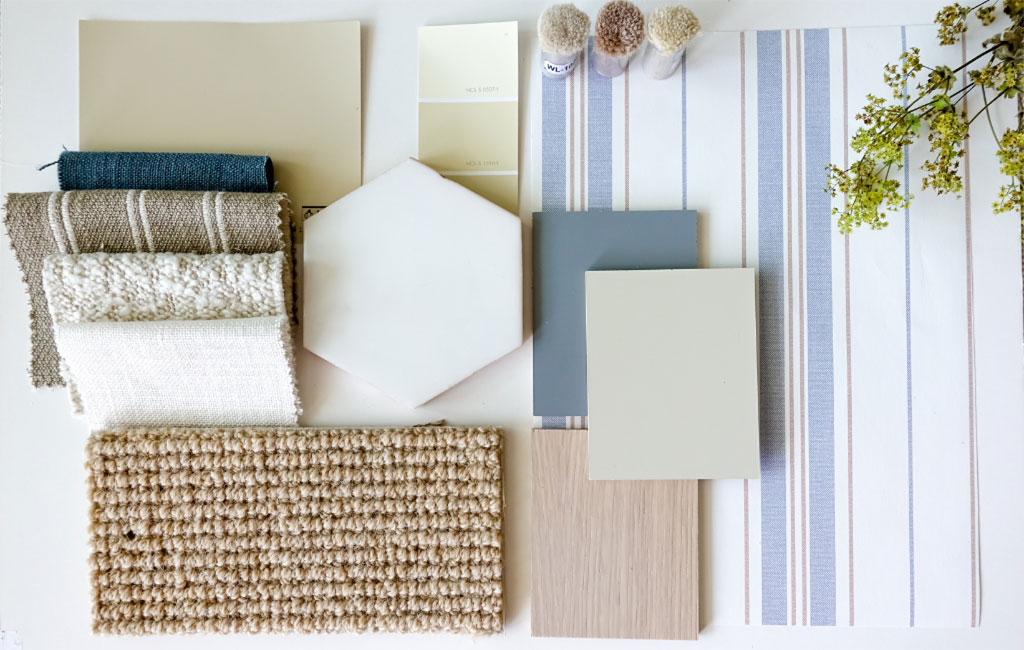
Before carrying out a design or renovation project it’s a great idea to create a mood board to collate all of your ideas and inspiration. You can create a digital mood board using a photo editing app. Alternatively, you can create a physical mood board using clippings from home blogs and magazines for inspiration. You’ll also be able to incorporate paint cards, wallpaper and fabric samples that you’ve found. A physical mood board is perfect when you want to get a real feel for the textures of your rooms.
The early stages of a renovation or decorating process can be overwhelming and it’s easy to get ahead of yourself. Curating a visual hub of your ideas and inspiration allows you to translate the concepts in your head into a cohesive design scheme. Preventing you from making design decisions you’ll come to regret.
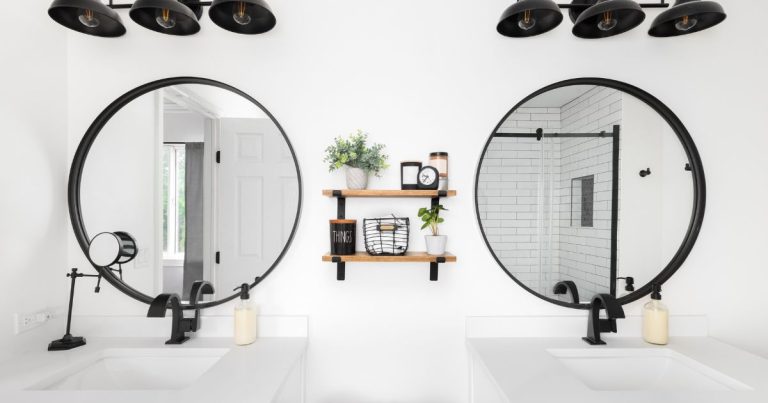
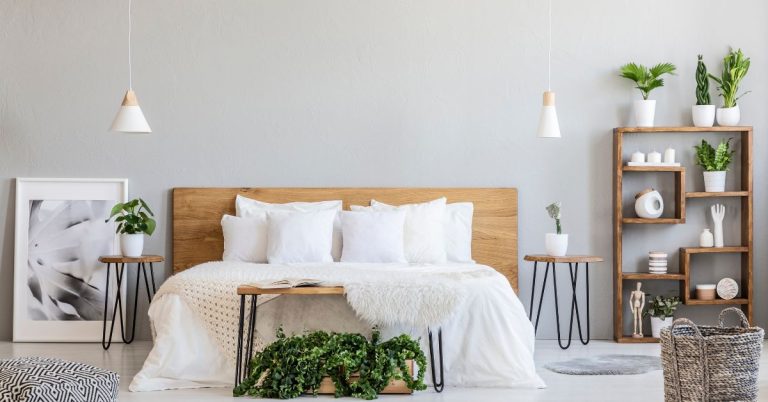
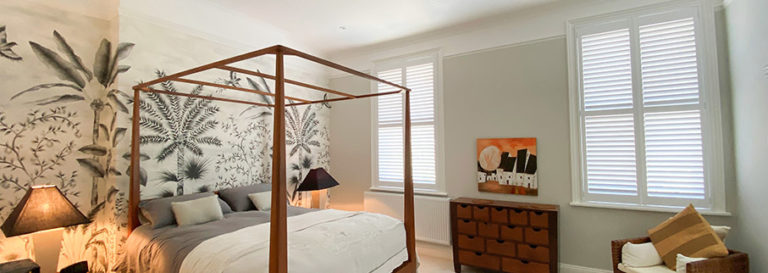
Think About Lighting
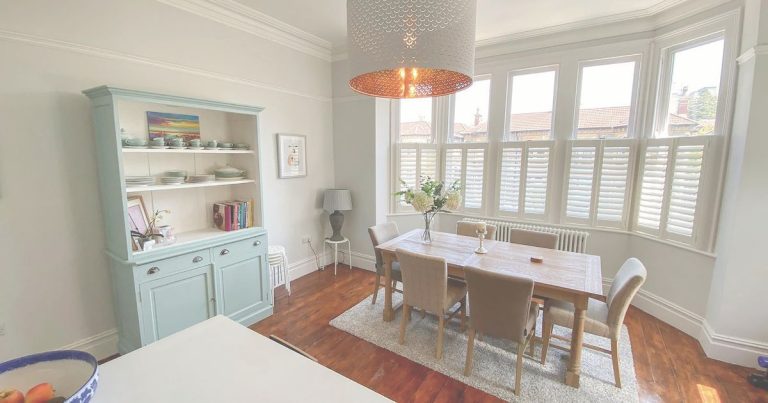
Although often overlooked, lighting is one of the most important areas you need to consider when decorating your home. During the planning process you need to think about the type of lighting you want in each room. Kitchens typically need brighter overhead lighting, otherwise known as task lighting. Whereas bedrooms and living spaces are typically more suited to softer, minimal lighting such as floor and table lamps. When making your decision, imagine the atmosphere you want to create in your space and consider how the lighting would naturally play into that.
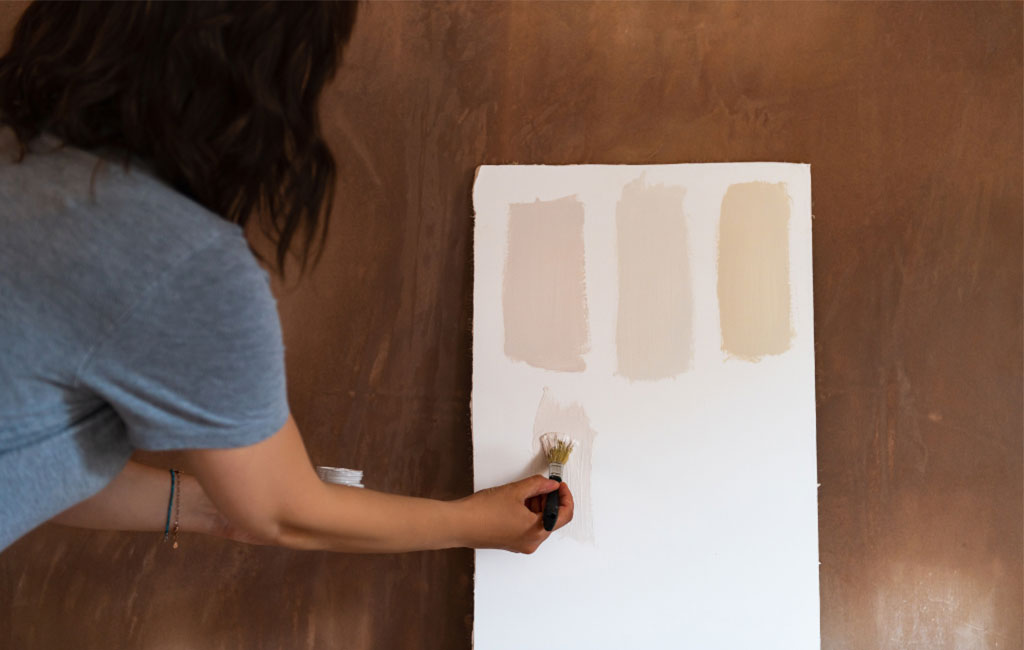
You should also consider the lighting when you’re making other design choices around your home. If you’re deciding between a selection of wallpapers or paint colours you should move them around the room to see how they look in the most brightly lit areas versus the darkest areas of the room. Remember to place your samples in natural light as well as a variety of artificial lights including overhead and lamplight. This can drastically change the appearance and is important when you’re trying to choose between similar colours with different undertones.
Prep and Prime
Properly prepping and priming your walls before beginning any decorating work is vital when you want to achieve a perfect finish. If there is existing wallpaper on the walls, you need to make it is completely removed and free of adhesive. Although it may be tempting to layer new wallpaper over the top, we can assure you that you won’t be happy with the results. Laying wallpaper on fresh, clean walls will allow for a smooth and long-lasting application that is less likely to require redecoration or touch ups in the near future. You may want to enquire into loaning a wallpaper steamer to make light work of removing wallpaper, particularly if it has been layered previously.
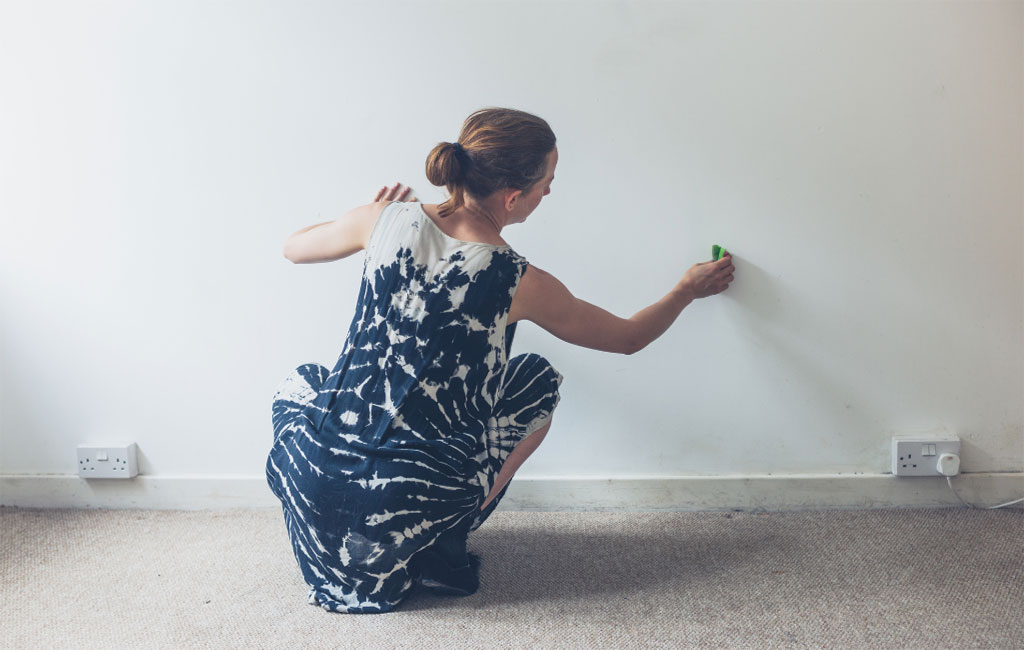
When preparing the walls to paint, you should dry remove any dirt, dust or debris that may have gathered during renovating. You should then thoroughly clean the walls with soapy water to remove any remaining grime. At this point you can apply filler and smooth any holes that you’ve discovered. If you’re planning to paint a light colour onto an existing dark wall, you should first sand away the dark paint. Otherwise, you’ll find yourself needing significantly more paint and you may still find your final colour is altered by the dark base. Once the wall is smooth and completely dry, apply a primer coat. This is especially important if you’ll be using an oil-based coloured paint.
Measure, Then Measure Again
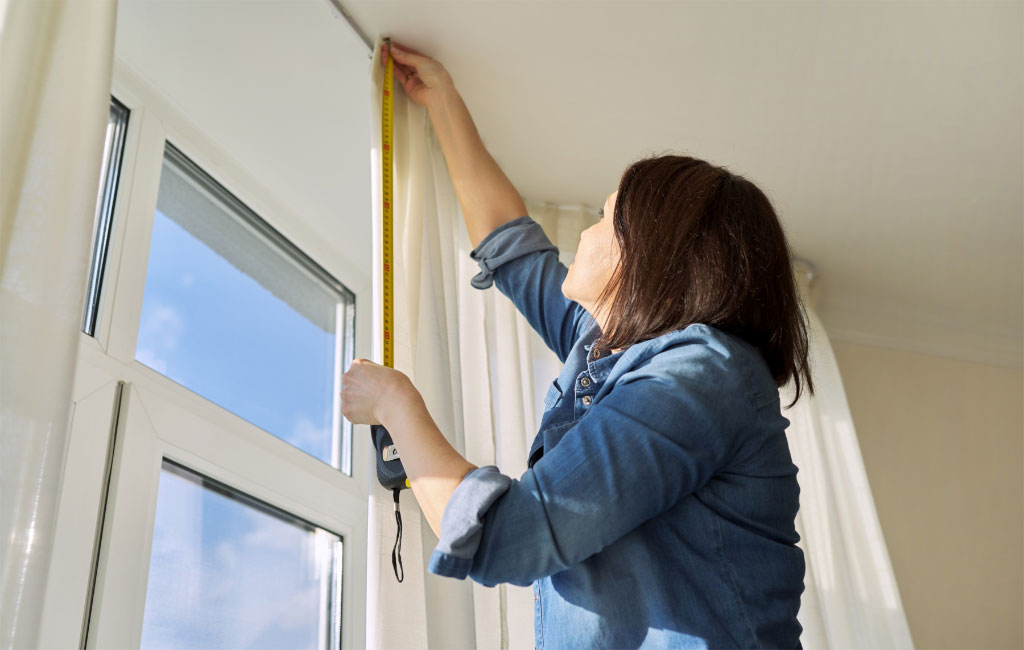
Incorrectly measuring is one of the biggest mistakes made by DIY-ers and can unfortunately be very costly. You should always measure the space twice in the same measurement metric whenever you’re purchasing large furniture items, wallpaper, flooring, curtains etc. You can use a pencil to lightly mark the wall where needed or use masking tape to plan your room layout on the floor. Not only does this ensure your furniture fits the space but also helps you plan the room layout to maximise space helps you when making additional purchases.
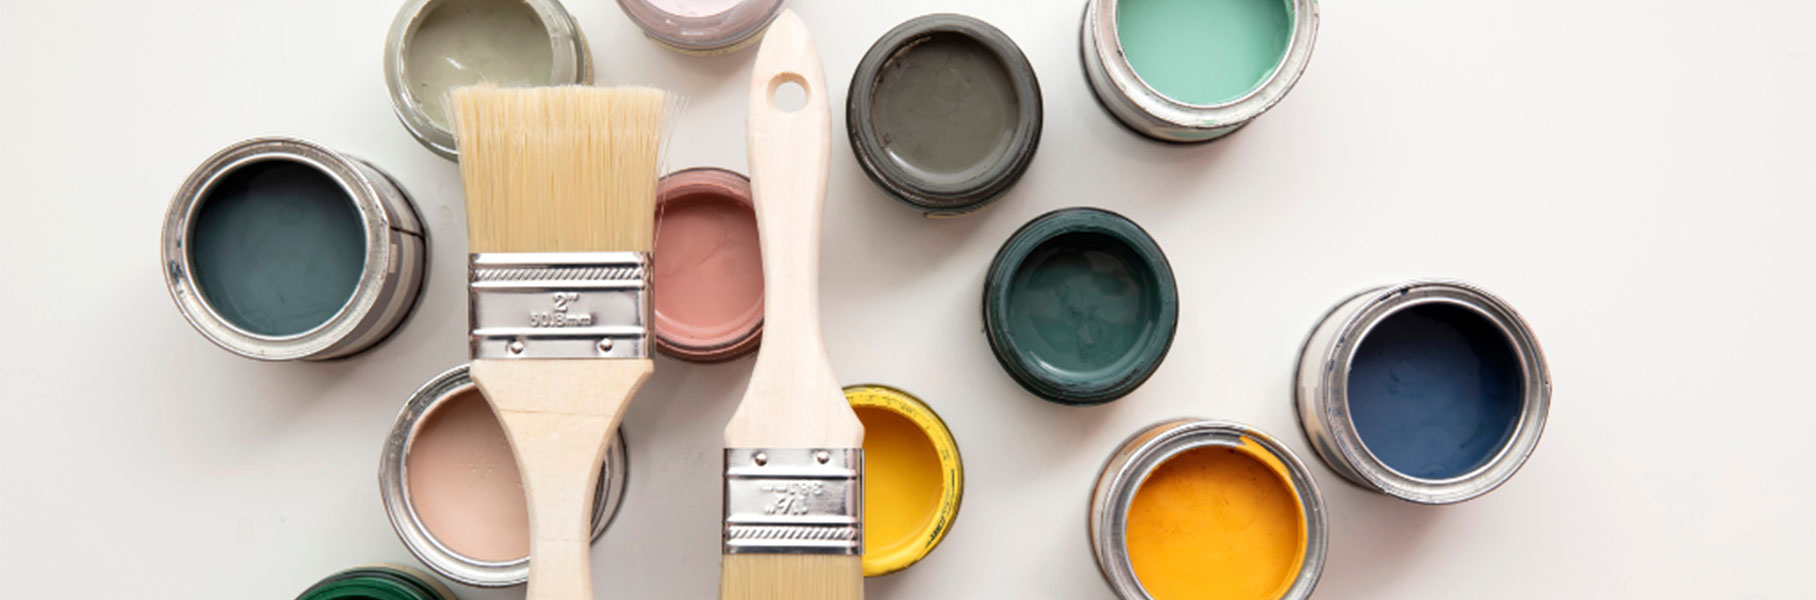
Don’t Cheap-Out on the Equipment
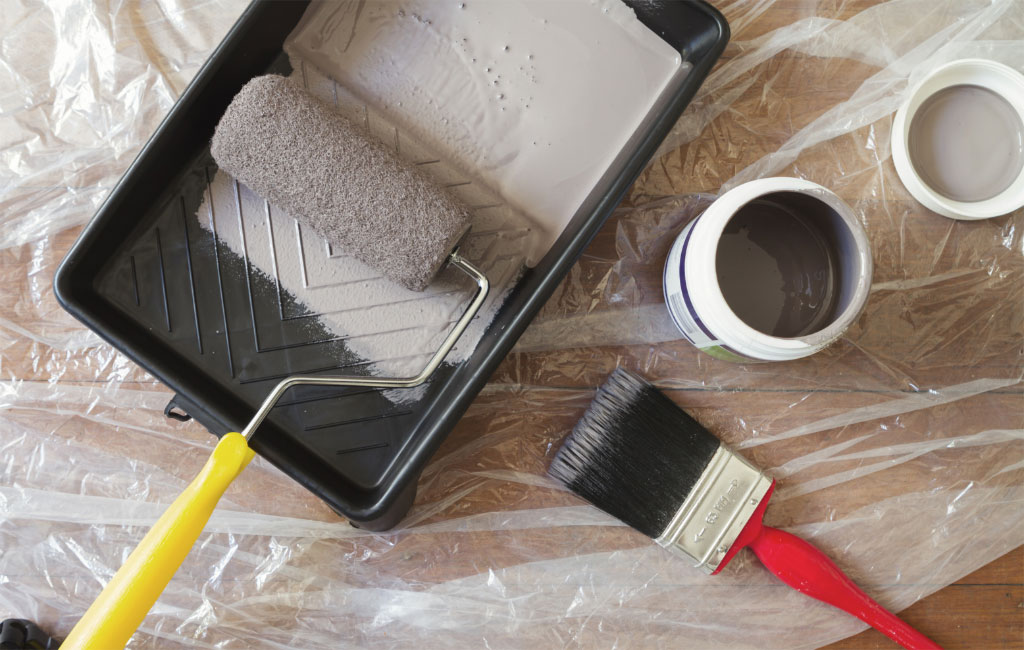
Using high-quality equipment for decorating is crucial for achieving professional results. You may think that all decorating tools are the same but using bad equipment can cost you more in the long term. Bad brushes often leave loose bristles in your paint and poor tape can pull up the fresh paint leaving chips and cracks. Investing in the right equipment will allow you to decorate efficiently and leave you with a precise, durable and professional finish.
Always buy fit-for-purpose equipment from reputable DIY stores. It’ll make all the difference when it comes to a smooth and seamless decorating process.
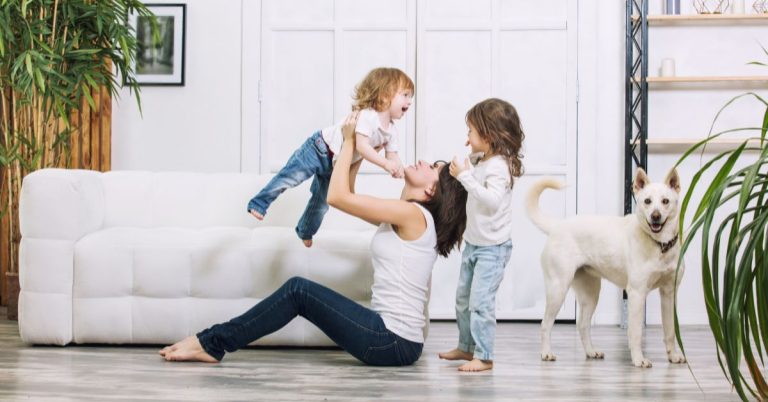
Consider the Room’s Primary Function
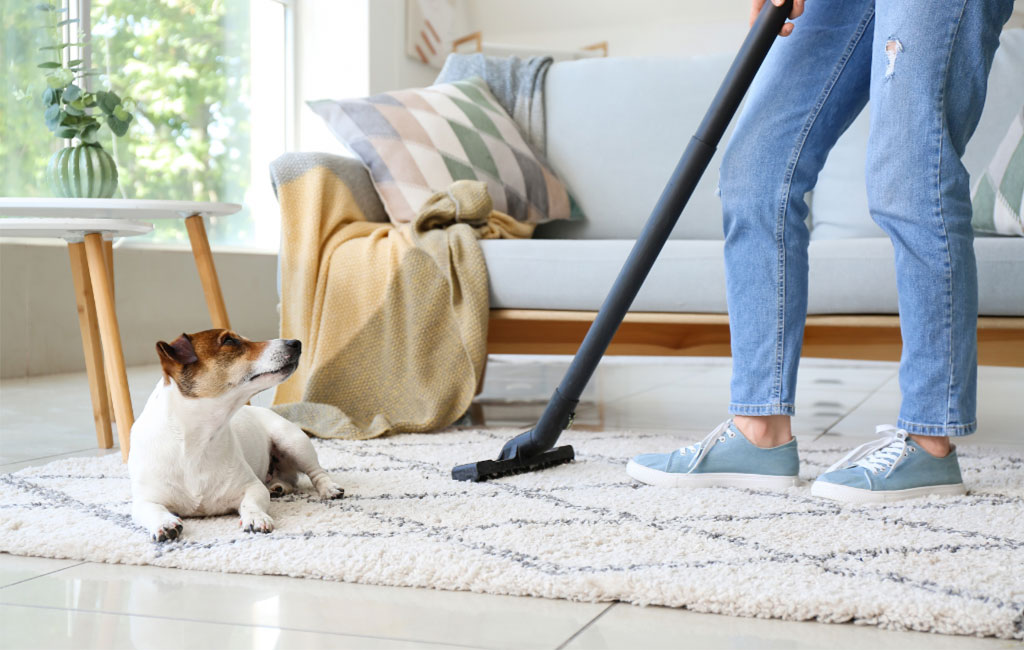
When designing your rooms you should keep in mind their primary function. Nobody wants a bedroom too bright, peeling wallpaper in the bathroom or food-stained carpets in the kitchen. Now whilst these may be more extreme examples, you do need to keep in mind the rooms intended purpose while you’re decorating. You’ll want to consider the storage requirements, overall tone, who’s going to use the space and how often it’ll need to be cleaned. However, it’s completely possible to do this whilst still designing your home to suit your taste.
Buying the right materials to decorate each of your rooms will ensure you achieve perfect, long-lasting results. Paint brands often sell different paint ranges and formulas that are better suited to different rooms. Using their guidance on these is particularly important for kitchens and bathrooms where ordinary paint can become warped or damaged after long term exposure to steam and stains.
Nail Your Painting Technique
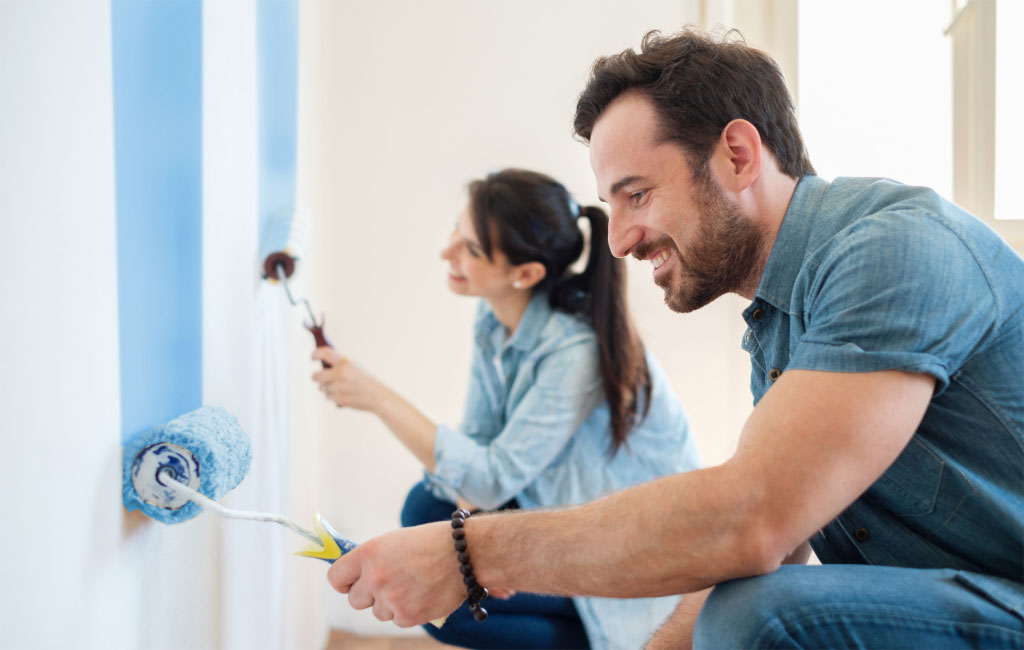
Having the right painting technique can be the difference between a beautifully finished room and one that’s in need of improvement. Before you begin painting, you need to lay a protective cover over the floor and any large furniture that can’t be moved. Start by painting around all edges of the room – including corners, wall or ceiling edges, and around fixtures, with a 1-2inch brush. Next, make sure not to overload your roller with too much paint (to avoid drips) – you want it evenly coated, but not dripping. Paint in even top-to-bottom strokes, moving across your wall in a ‘W’ or ‘M’ motion for even coverage. Allow the paint to completely dry between coats to ensure a professional, long-term finish.
Double Up on Wallpaper Jobs
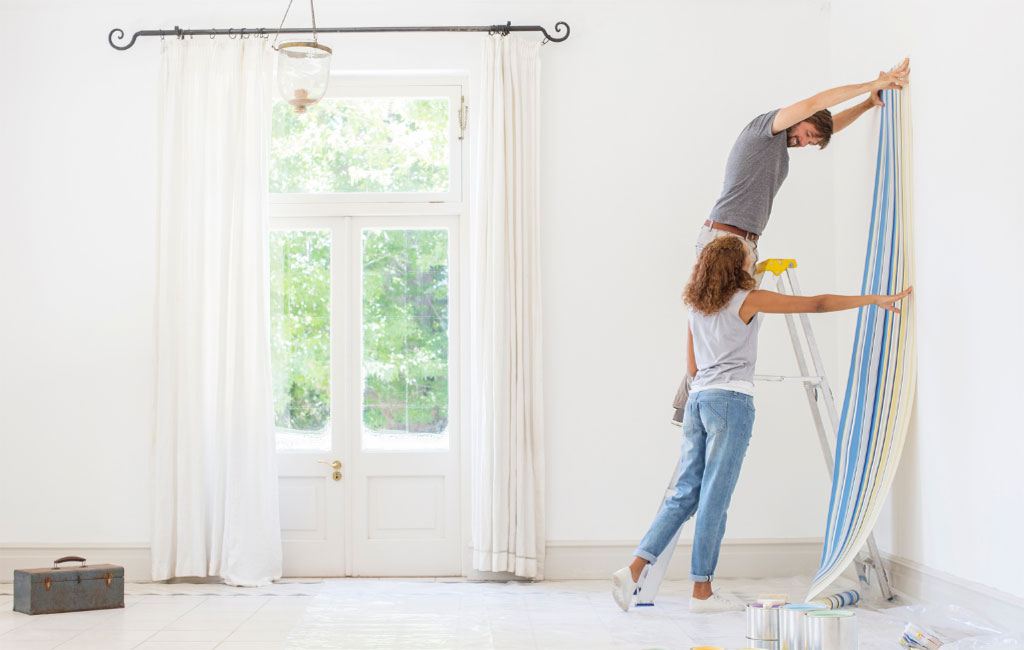
Wallpaper is one of the most difficult decorating jobs you can do yourself. If you can, you should avoid wallpapering alone and instead loop in someone else to give you a hand. Not only will this really speed up the time needed but it will also reduce any room for error when lining up the patterns. Go with a high-and-low approach, with one person working high up and the other on the floor. The high person’s job is to paste the wall and line up the paper from the ceiling edge, while the floor person smooths the paper down the wall and cuts the bottom edge.
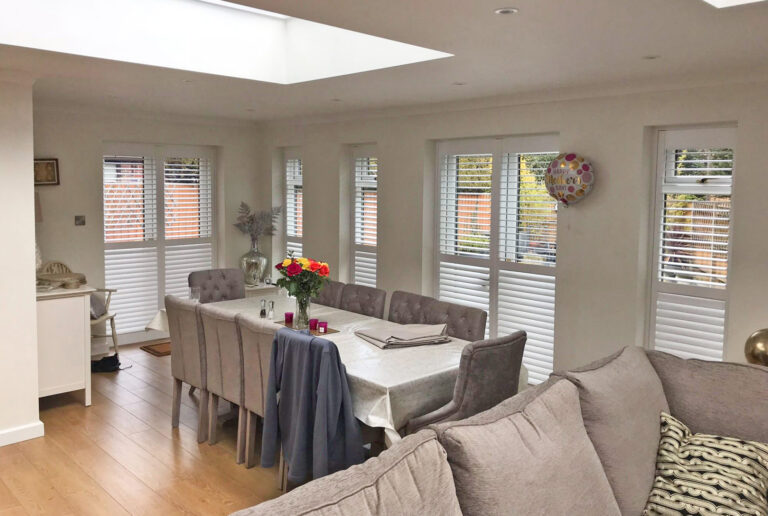
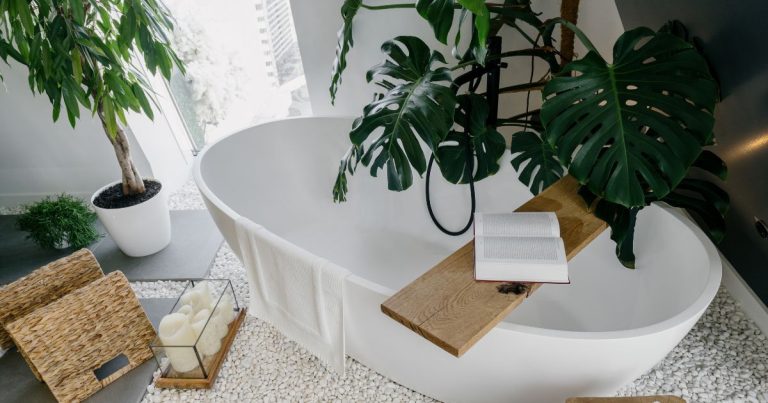
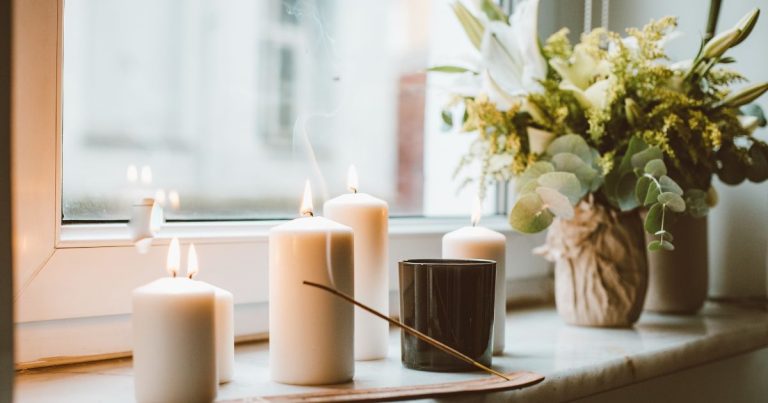
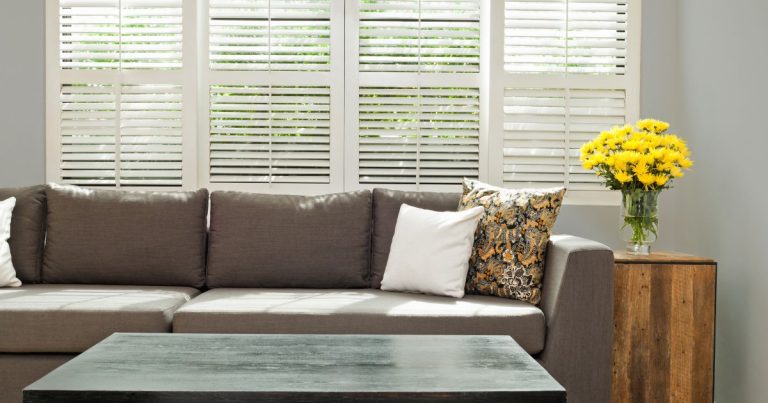
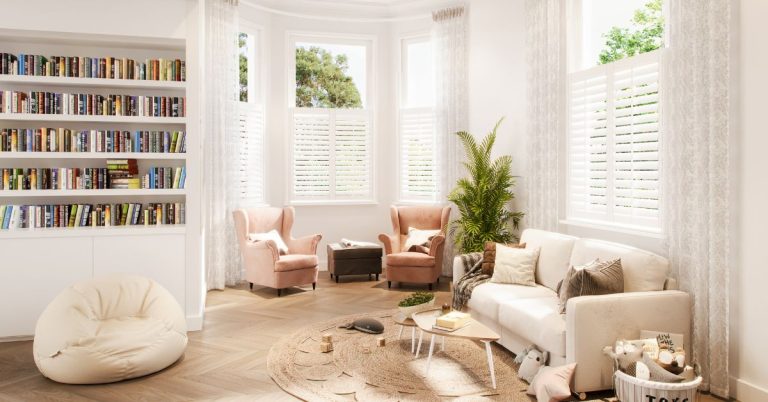
Don’t Forget Finishing Touches
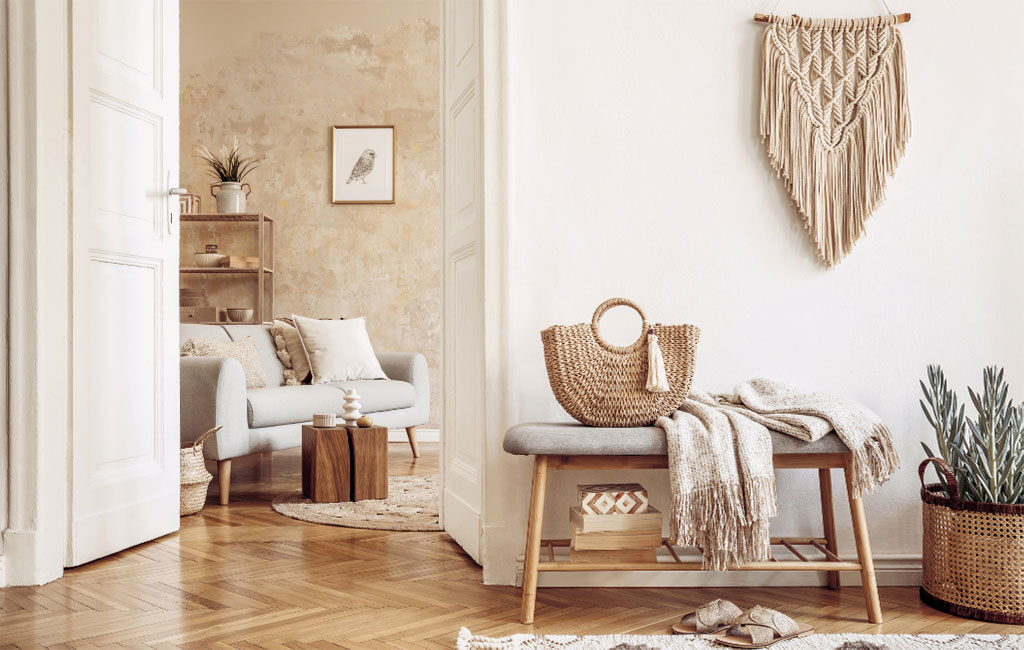
When you’re working on a large renovation project it’s easy to forget about the small touches, but it’s usually these details that make your house a home. You shouldn’t leave them until last either, include them in your designs and mood board from the beginning to ensure a cohesive and well-thought-out space. Consider plants, accessories, light fixings and your window dressings.
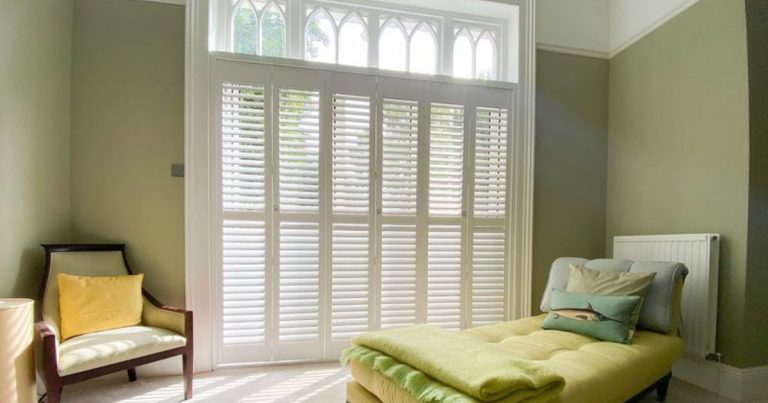
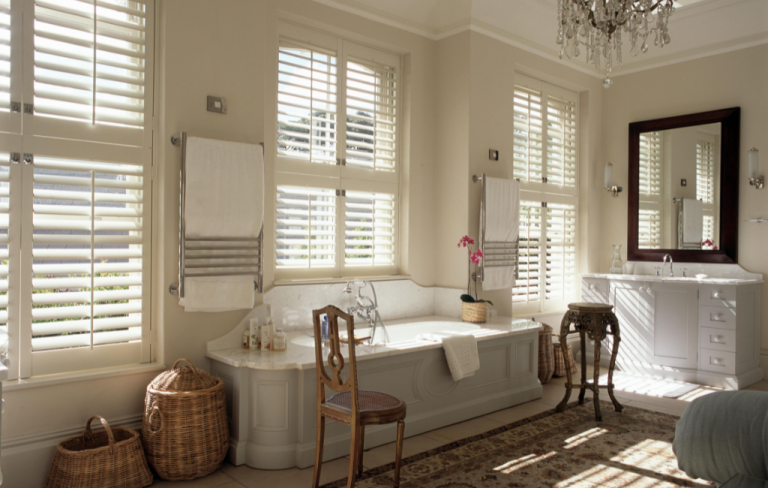
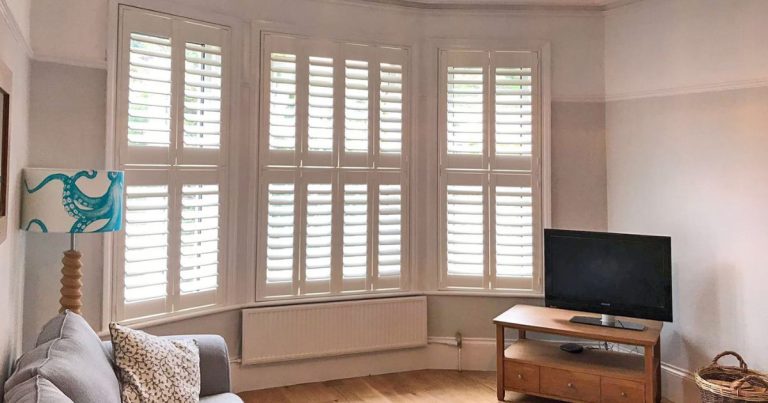
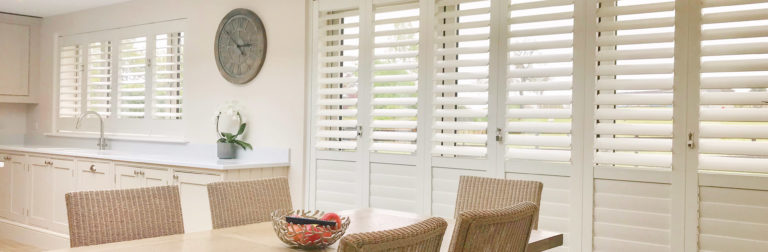
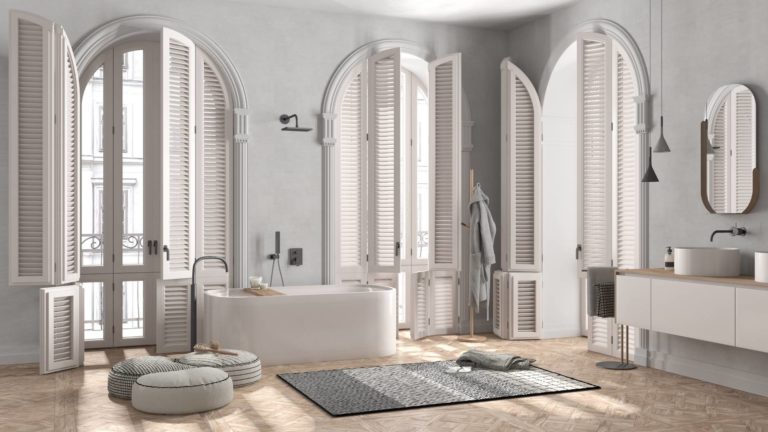
Know When to Call in the Professionals

Although there are a huge number of tasks you can complete yourself during your renovation project, there are some that should be left to the professionals. These circumstances will often be due to permits and permissions, dangerous electrical and plumbing tasks or jobs that have very little room for error. From laying flooring to fitting custom window shutters, some areas require made-to-measure solutions that are best left to experienced hands.
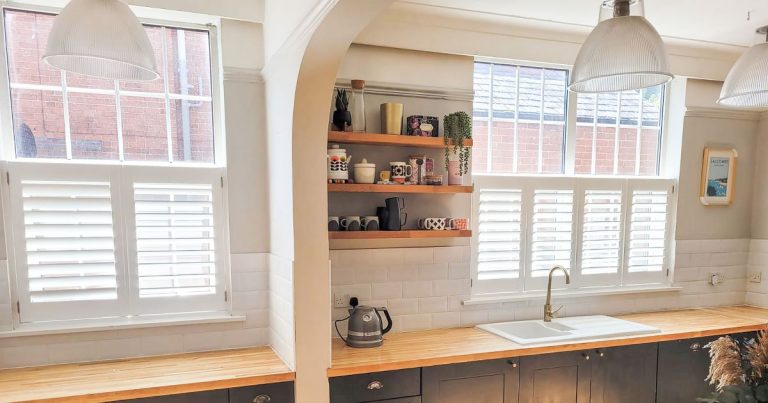
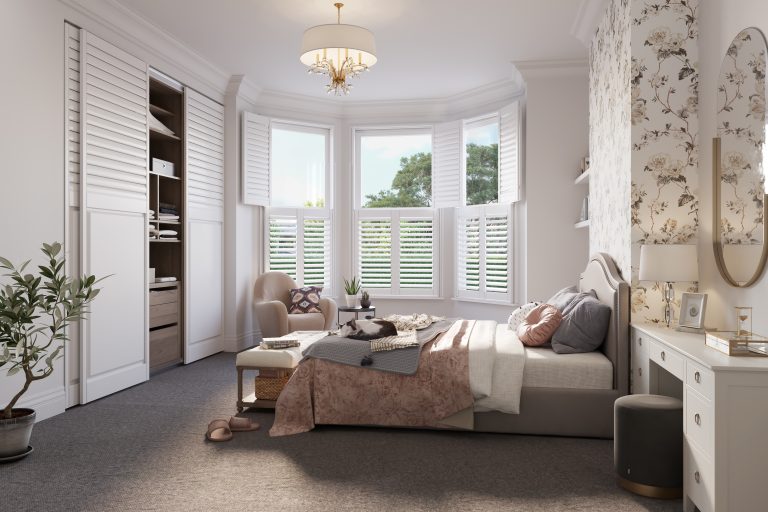
Made-to-measure window fittings
Starting a home renovation or interior design project can be daunting, particularly if it’s your first experience. Starting with a few of our basic tips and tricks can help bring your project to life. Get in touch with your local Shuttercraft team if you’re looking to enhance your home with custom window fixings.